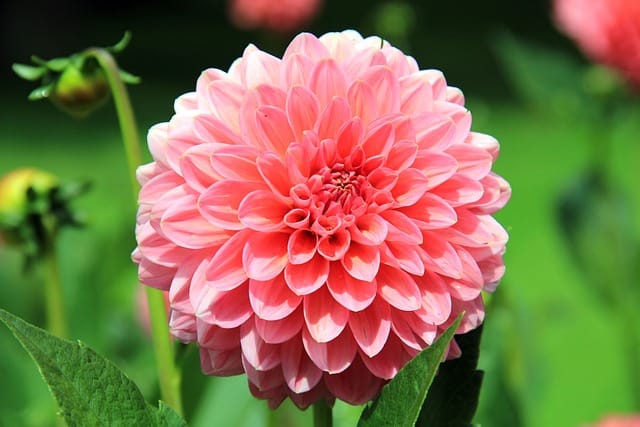
Daily gardening tips: Collect seeds from favorite plants for next season
Gardening brings immense joy and satisfaction, and one way to ensure your garden thrives year after year is by collecting seeds from your favorite plants

In this article:
Introduction
Gardening brings immense joy and satisfaction, and one way to ensure your garden thrives year after year is by collecting seeds from your favorite plants. By following this simple gardening tip, you can save money and have a continuous supply of beloved plants that have adapted well to your specific soil and climate conditions. This article will guide you through the process of collecting and storing seeds for your next gardening season.
Step 1: Identify and Select Suitable Plants
Before collecting seeds, start by identifying the plants you want to collect from. Choose healthy specimens that are free from diseases or pests. Select plants that have desirable traits, such as vibrant colors, impressive sizes, or excellent yields.
Step 2: Wait for Seed Maturation
Allow the chosen plants to mature fully and let the seeds develop to their fullest potential. This might involve waiting for the flowers to wither, the fruits to ripen, or the seed pods to dry out. Make sure you collect seeds when they are completely matured as immature seeds may not germinate successfully.
Step 3: Harvesting Seeds
Harvesting seeds can vary depending on the plant, but here are a few common methods:
For Flowering Plants:
- Clip the dried flowers into a paper bag and gently shake it to release the seeds.
- Alternatively, you can pluck the seed heads and allow them to dry completely before collecting the seeds.
For Fruiting Plants:
- Cut open the ripe fruits and carefully remove the seeds. Rinse away any fruit residue and let the seeds air dry before storing.
- For small fruits like tomatoes or peppers, simply squeeze the seeds onto a paper towel and let them dry.
For Plants with Pods or Seed Heads:
- As the seed pods or heads dry out, place a paper bag over them and secure it around the stem or branch. Shake or tap the pods gently to release the seeds into the bag.
- If the pods already split open, collect the seeds from the ground, if available, or directly from the plant.
Step 4: Cleaning and Drying Seeds
Once you have harvested the seeds, it's crucial to clean and dry them to prevent mold or fungal growth. Here's what to do:
- Remove any plant debris or husks from the seeds by carefully picking them out.
- Rinse the seeds with water if necessary.
- Place the seeds on a paper towel or a mesh screen, allowing them to air dry completely for one to two weeks.
- Avoid using heat or direct sunlight to dry the seeds, as it may damage their viability.
Step 5: Proper Storage
Proper storage is vital for preserving seed viability. Follow these guidelines:
- Store seeds in airtight containers, such as glass jars or envelopes, to protect them from moisture and pests.
- Add a desiccant, like silica gel packets, to absorb any remaining moisture and help maintain seed quality.
- Label each container with the plant's name, collection date, and any additional relevant information.
- Keep the containers in a cool, dark, and dry place, like a cellar or a refrigerator.
Conclusion
Collecting seeds from your favorite plants is a rewarding and cost-effective way to ensure the longevity and continuity of your garden. By following these steps, you can acquire seeds that are well-suited to your specific growing conditions, bringing joy and beauty to your garden for years to come. Happy gardening!
