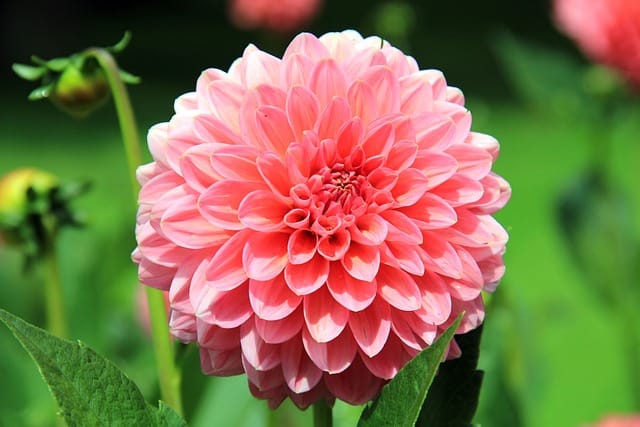
Daily gardening tips: Remove faded blooms to prevent plants from going to seed too quickly
Gardening is not only a hobby but also a way to relax and connect with nature

In this article:
Gardening is not only a hobby but also a way to relax and connect with nature. Whether you have a small balcony garden or a large backyard, one common goal is to enjoy beautiful and healthy plants throughout the growing season. One simple but effective gardening tip that can significantly enhance the overall appearance and longevity of your plants is to remove faded blooms promptly. In this article, we will discuss why removing faded blooms is essential and how it can prevent plants from going to seed too quickly.
Why are Faded Blooms Problematic?
When flowers begin to fade, they undergo a natural process called senescence. Senescence is the last stage of a flower's life cycle, where the bloom starts to wither and eventually die off. During this process, the plant begins to channel its energy towards seed production, intending to ensure the survival of the species. While this is a crucial aspect of plant reproduction, it can hinder the beauty and vitality of your garden by diverting resources from other essential functions.
Prolonged Blooming Period
By removing faded blooms promptly, you can extend the blooming period of your plants. When a bloom fades, it triggers the production of hormones that stimulate seed development. Consequently, the plant focuses its energy on seed production, causing fewer resources to be directed towards producing new flowers. By deadheading or removing the faded blooms, you can redirect the plant's energy back into flower production, allowing for a prolonged period of stunning blooms.
Enhanced Flower Quality
Beyond extending the blooming period, deadheading also improves the overall quality of the flowers. Faded blooms often become unsightly, losing their vibrant colors and their beauty. Additionally, leaving these faded blooms intact can encourage the growth of diseases and pests, further compromising the health and beauty of your plants. By removing the faded blooms, you maintain the aesthetic appeal of your garden while reducing the risk of disease and pests.
Preventing Self-Seeding and Invasive Spread
If you allow plants to go to seed, many species will self-sow and spread throughout your garden. While some self-seeding plants are desirable for naturalizing or filling in bare areas, others can become invasive and overcrowd your garden. By removing faded blooms before the seeds develop, you can prevent self-seeding and maintain control over where your plants grow. This allows you to create a more organized and intentional garden layout.
Encouraging Reblooming
Some plants can rebloom once they have been deadheaded successfully. Removing the faded blooms triggers a response from the plant, signaling that more flowers are needed. In response, the plant will redirect its resources towards new flower production. This can result in a second wave of colorful blooms, providing you with an extended period of visual delight in your garden.
When and How to Remove Faded Blooms
Knowing when and how to remove faded blooms is crucial to ensure effectiveness and prevent damage to the plant. Here are a few guidelines to follow:
1. Regular Deadheading
Make it a routine to inspect your plants regularly for faded blooms and remove them promptly. This ongoing maintenance will keep your garden looking fresh and vibrant throughout the growing season. Some plants may require deadheading every few days, while others may only need it once a week. Observe your plants to determine their specific needs.
2. Timing is Key
When deadheading, it is essential to remove the faded blooms before they have a chance to go to seed. If you wait too long, you may inadvertently aid self-sowing and lose the benefits of deadheading (such as prolonged blooming). However, be cautious not to remove the spent blooms too early, as some plants may still derive nutritional resources from them.
3. Proper Tools and Technique
Use clean and sharp gardening shears or pruners to remove the faded blooms. This minimizes the risk of spreading diseases and ensures clean cuts that promote optimal healing. Cut just above a leaf node or bud, leaving a small stem or bud intact to prevent unsightly stubs.
4. Exceptions to Deadheading
While deadheading is beneficial for the majority of flowering plants, some species produce attractive seed heads that can add winter interest to your garden or provide food for birds and wildlife. Research the specific requirements of each plant before removing faded blooms to ensure it is appropriate for the species in question.
Conclusion
By adopting the simple practice of removing faded blooms promptly, you can promote a stunning and vibrant garden throughout the growing season. By deadheading, you prolong the blooming period, enhance flower quality, prevent self-seeding and invasive spread, and even encourage reblooming. Remember to tailor your deadheading routine to the specific needs of each plant, and enjoy the benefits of this gardening tip in creating a beautiful and thriving garden.
